Showing all 10 results

Printers | Matrix Warehouse Computers

New

How to connect printer to laptop?

Simply turn on your printer by connecting the USB connection to a USB port on your computer.

Select Settings >Devices >Printers & scanners from the Start menu. Add a printer or scanner. Wait for it to locate nearby printers, then select Add device after picking the one you wish to use.

How to connect a printer to Wi-Fi?

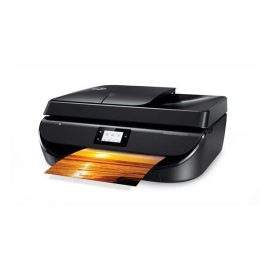
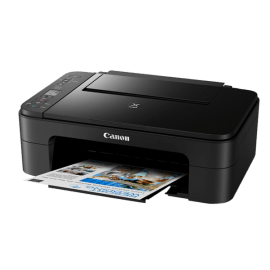
A printer is necessary in every business and classroom, and as more people choose to work and learn from home, every home also needs one as circumstances change.

You can print from any location in your home when you install a wireless and cloud-enabled printer because you won’t need to be seated next to it.

Therefore, you have the option to spend the morning in close proximity to your kitchen coffee maker and then step outside to the garden for some afternoon sun. When you’re ready, send your documents to print; when you’re ready, pick them up.

In order to ensure quick and orderly assembly, first ensure that you have correctly removed the printer from its box with all of the supplied parts. It is simple to hurry through the easiest part while excited and hurried, and it’s even simpler to omit the most fundamental of processes.

When everything is assembled and ready for configuration, connect the power cable’s double-pronged end to a nearby outlet using the double-pronged end. You might need to push a power button to wake up the machine; alternatively, your printer might switch on automatically. Here’s where we step in.

Step 1: Locate your settings

  • Once turned on and ready for configuration, you’ll need to connect the printer to your home Wi-Fi
  • While the steps on installation vary by manufacturer, most modern printers will have an LCD screen that lists the available Wi-Fi networks
  • On this screen, click around and locate the setup page that allows you to adjust the Wireless LAN Settings

Step 2: Link your Wi-Fi network

  • After accessing your LAN settings, you’ll need to locate your home network service set identifier – better known as your SSID
  • You can find your SSID by hovering your mouse over the Wi-Fi icon located at the bottom right of your taskbar
  • Your SSID is also located on the bottom or side of your internet service provider’s router

Step 3: Complete connectivity

  • With the SSID selected, you’re ready to enter your network password
  • Once entered, your printer is prepped for all printing activity

Step 4: Locate your printer settings

  • Click the Windows icon at the bottom left of your desktop screen to reveal your Windows Start Menu
  • Locate the gear icon link to your settings window and click on the icon labeled “Devices”

Step 5: Connect the printer to the computer

  • Within your “Devices” screen, you should find an option to “Add a Printer or Scanner”
  • After clicking this, the name of your printer – generally with the manufacturer name and model number – should appear as available.
  • Select “Add Device” and your computer will do the rest to complete the wireless configuration
  • Print away!

This site uses cookies to offer you a better browsing experience. By browsing this website, you agree to our use of cookies.